Role Management
This document explains how to manage Role data in the Jova POS system. This feature allows you to add, edit, delete, and manage role-related information in the system.
Role Management Flow
The general flow is:
- Access the Admin → Roles menu.
- Add a New Role.
- Fill in the role information.
- Click Save to save the role data.
- After saving, the role will appear in the list with the specified status.
1. Accessing the Roles Menu
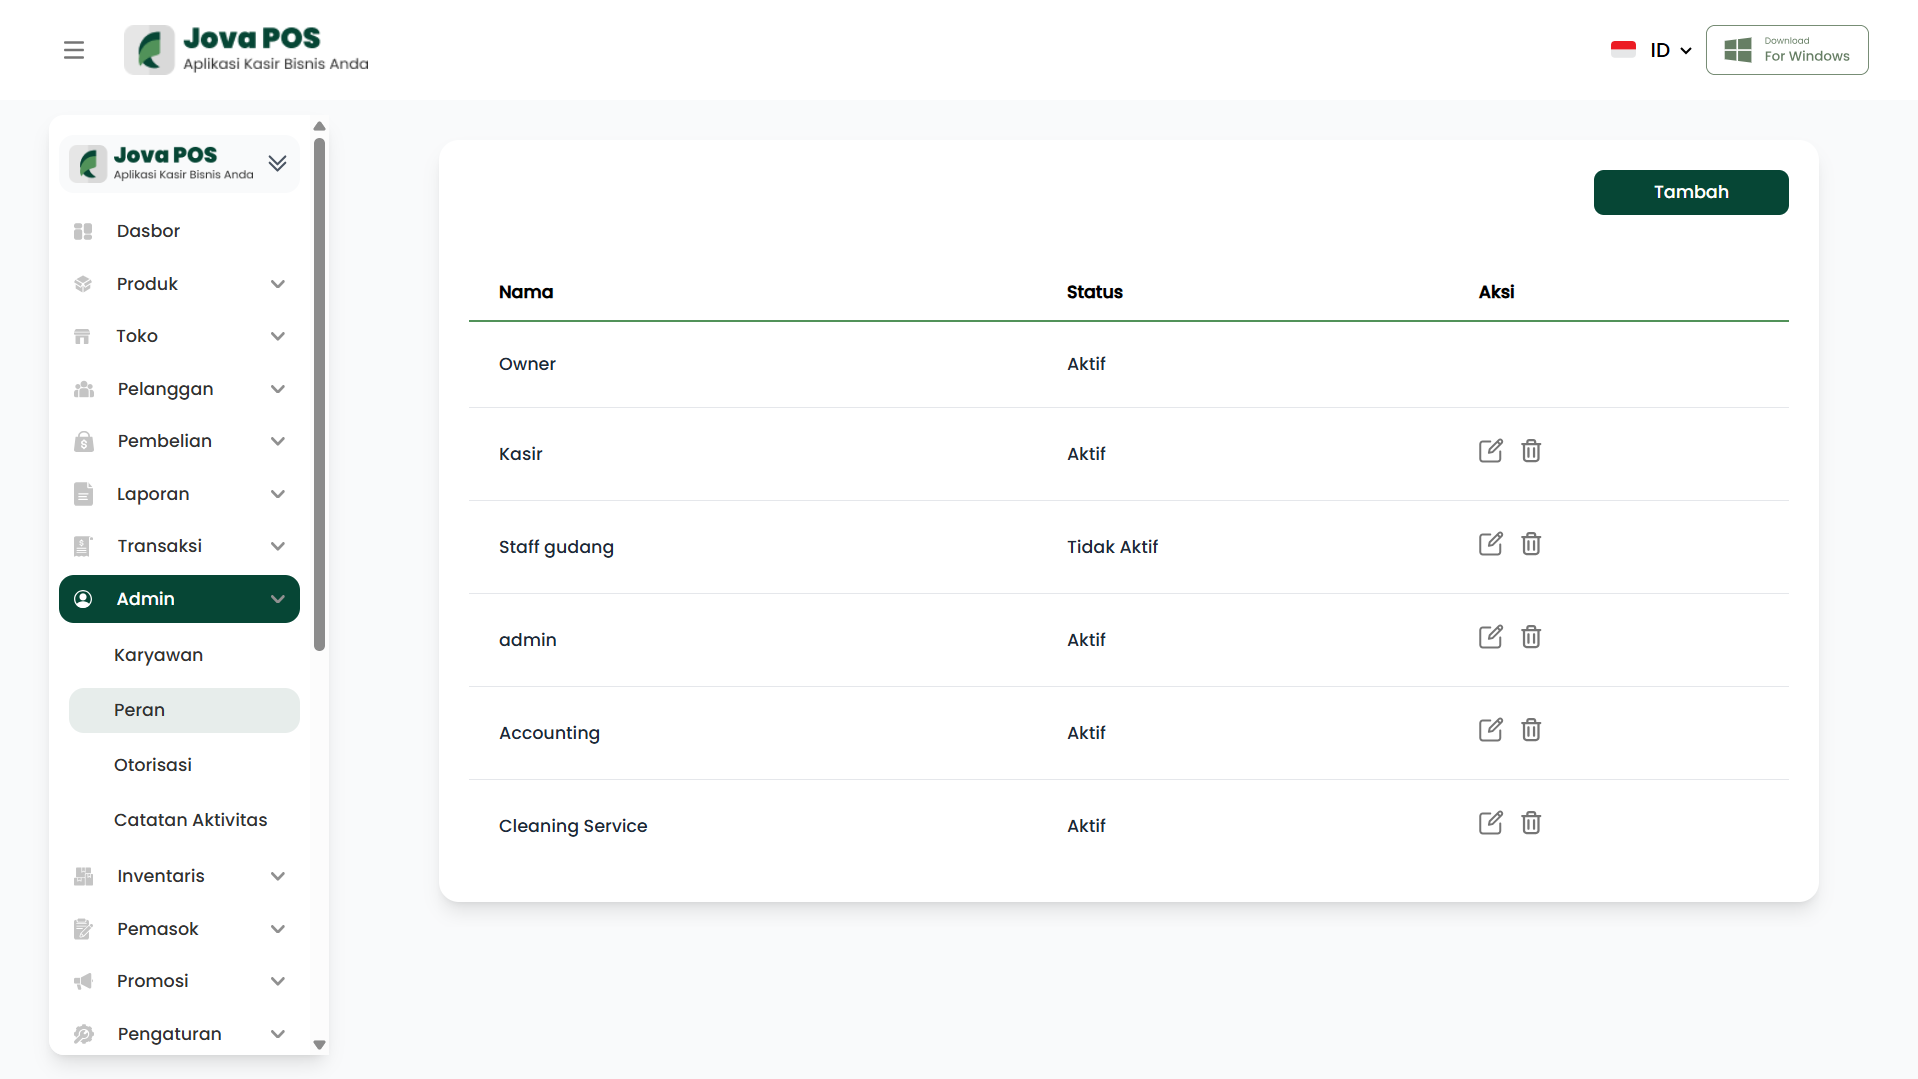
- In the sidebar, click Admin.
- Select Roles to access the role management page.
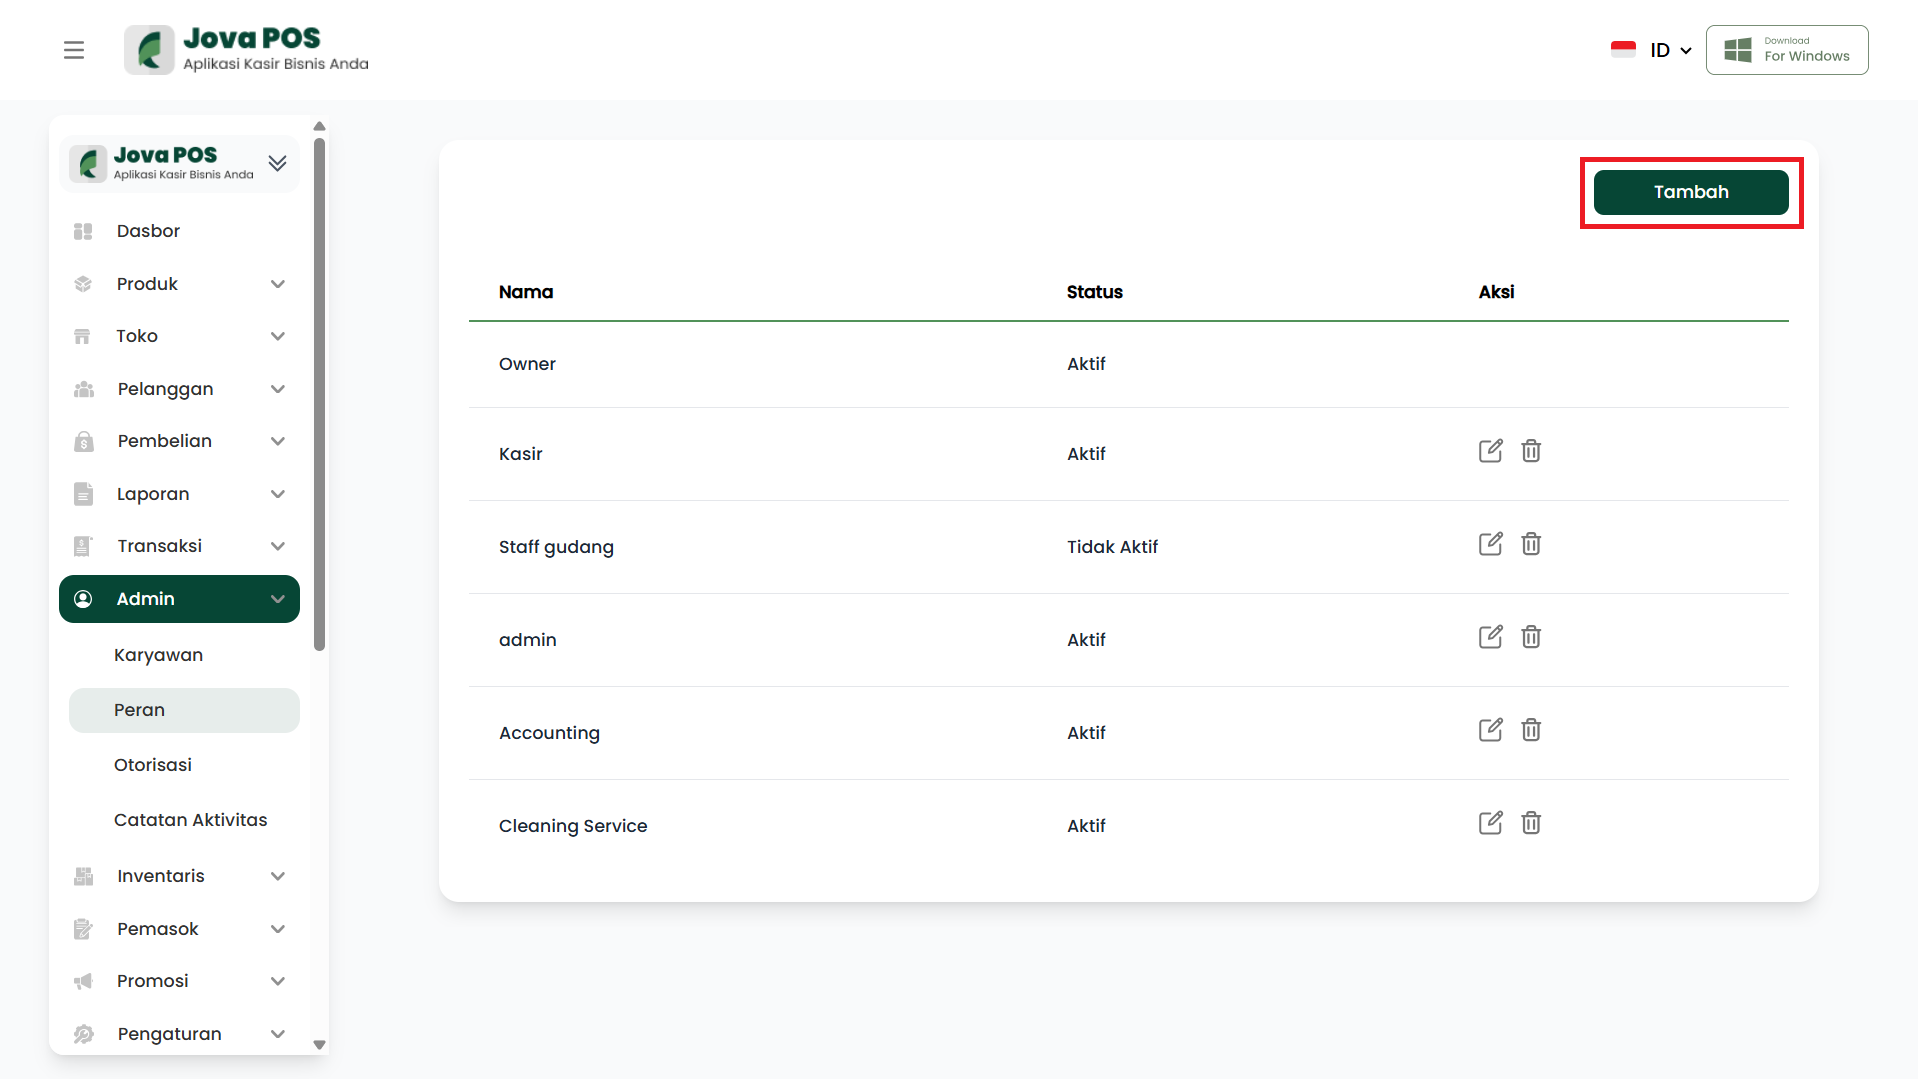
2. Adding a New Role
To add a new role, click the Add button located in the top right corner of the page.
3. Filling in Role Information
On the Add Role page, you need to fill in the following information:
- Name: The role name (e.g. Cashier, Admin, etc.).
- Status: Choose whether the role is Active or Inactive.
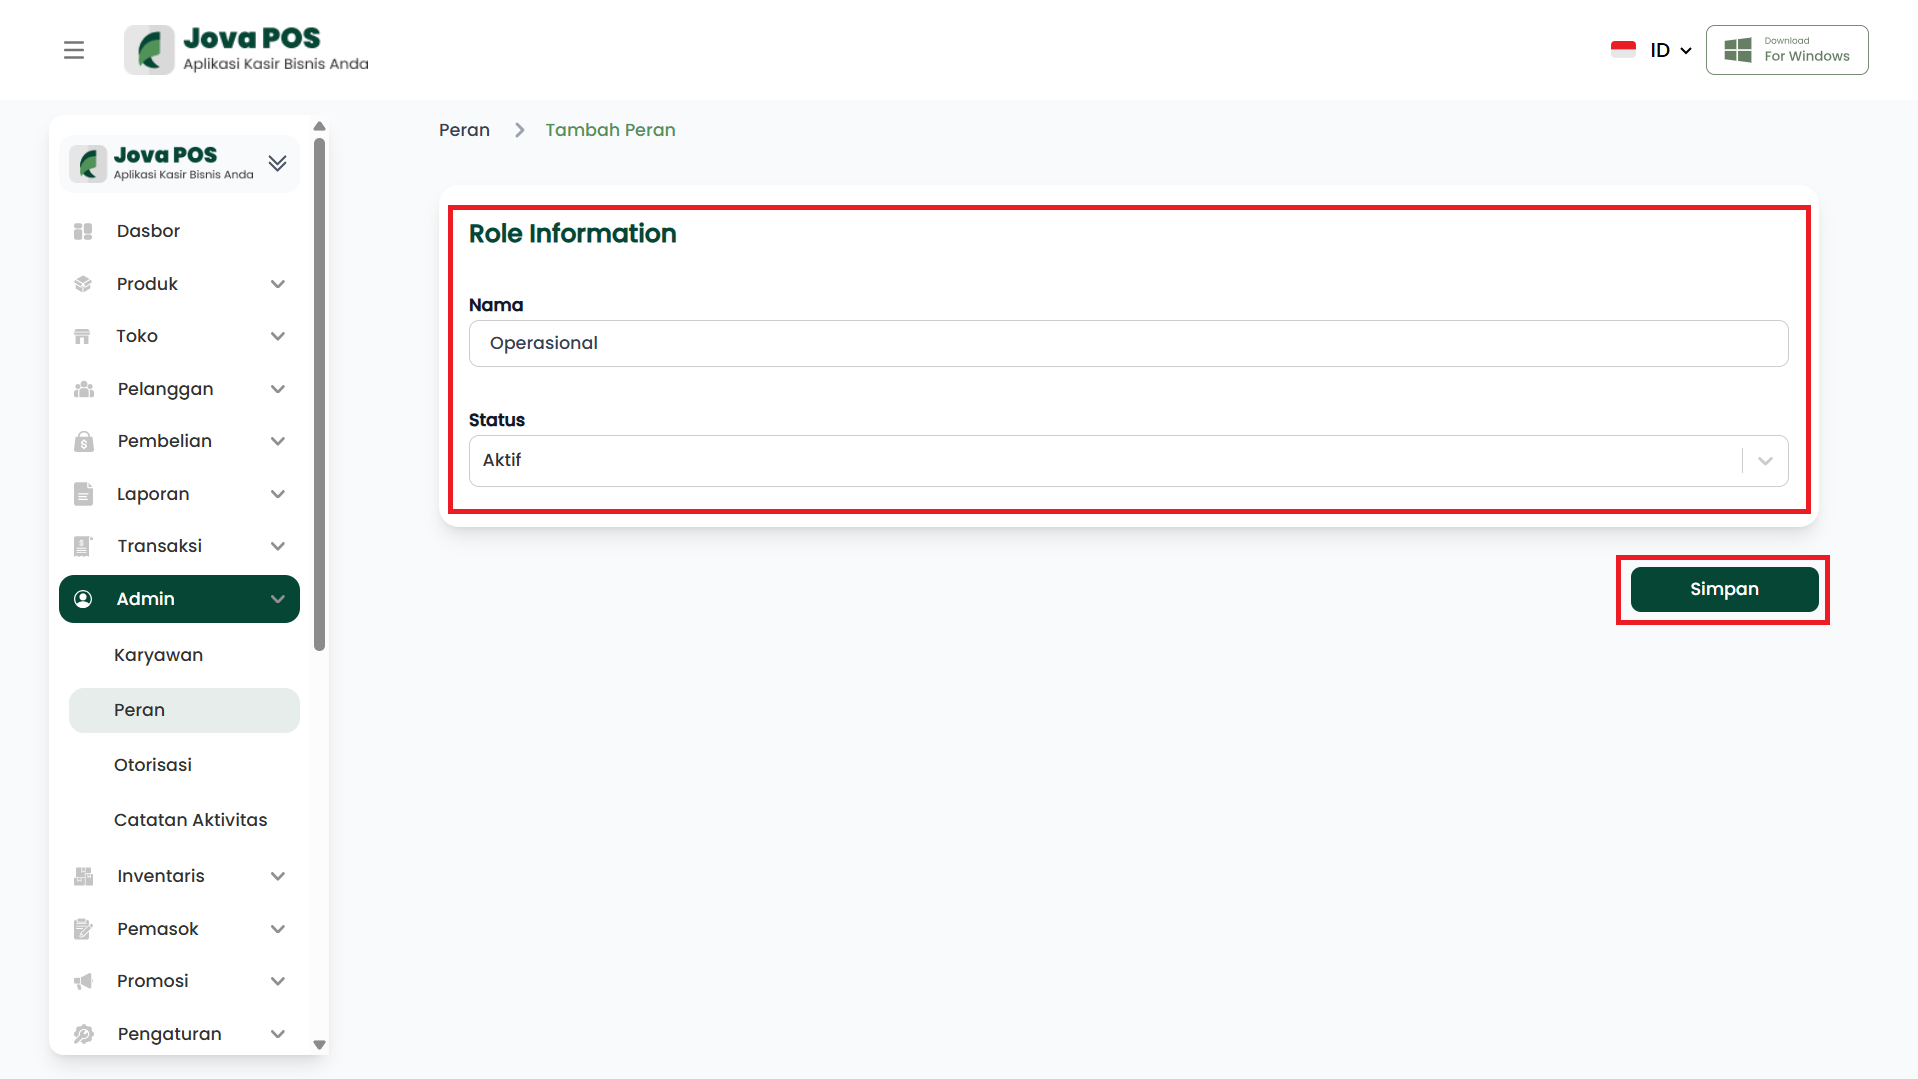
After filling in the role information, click the Save button to save the data.
4. Editing Role Data
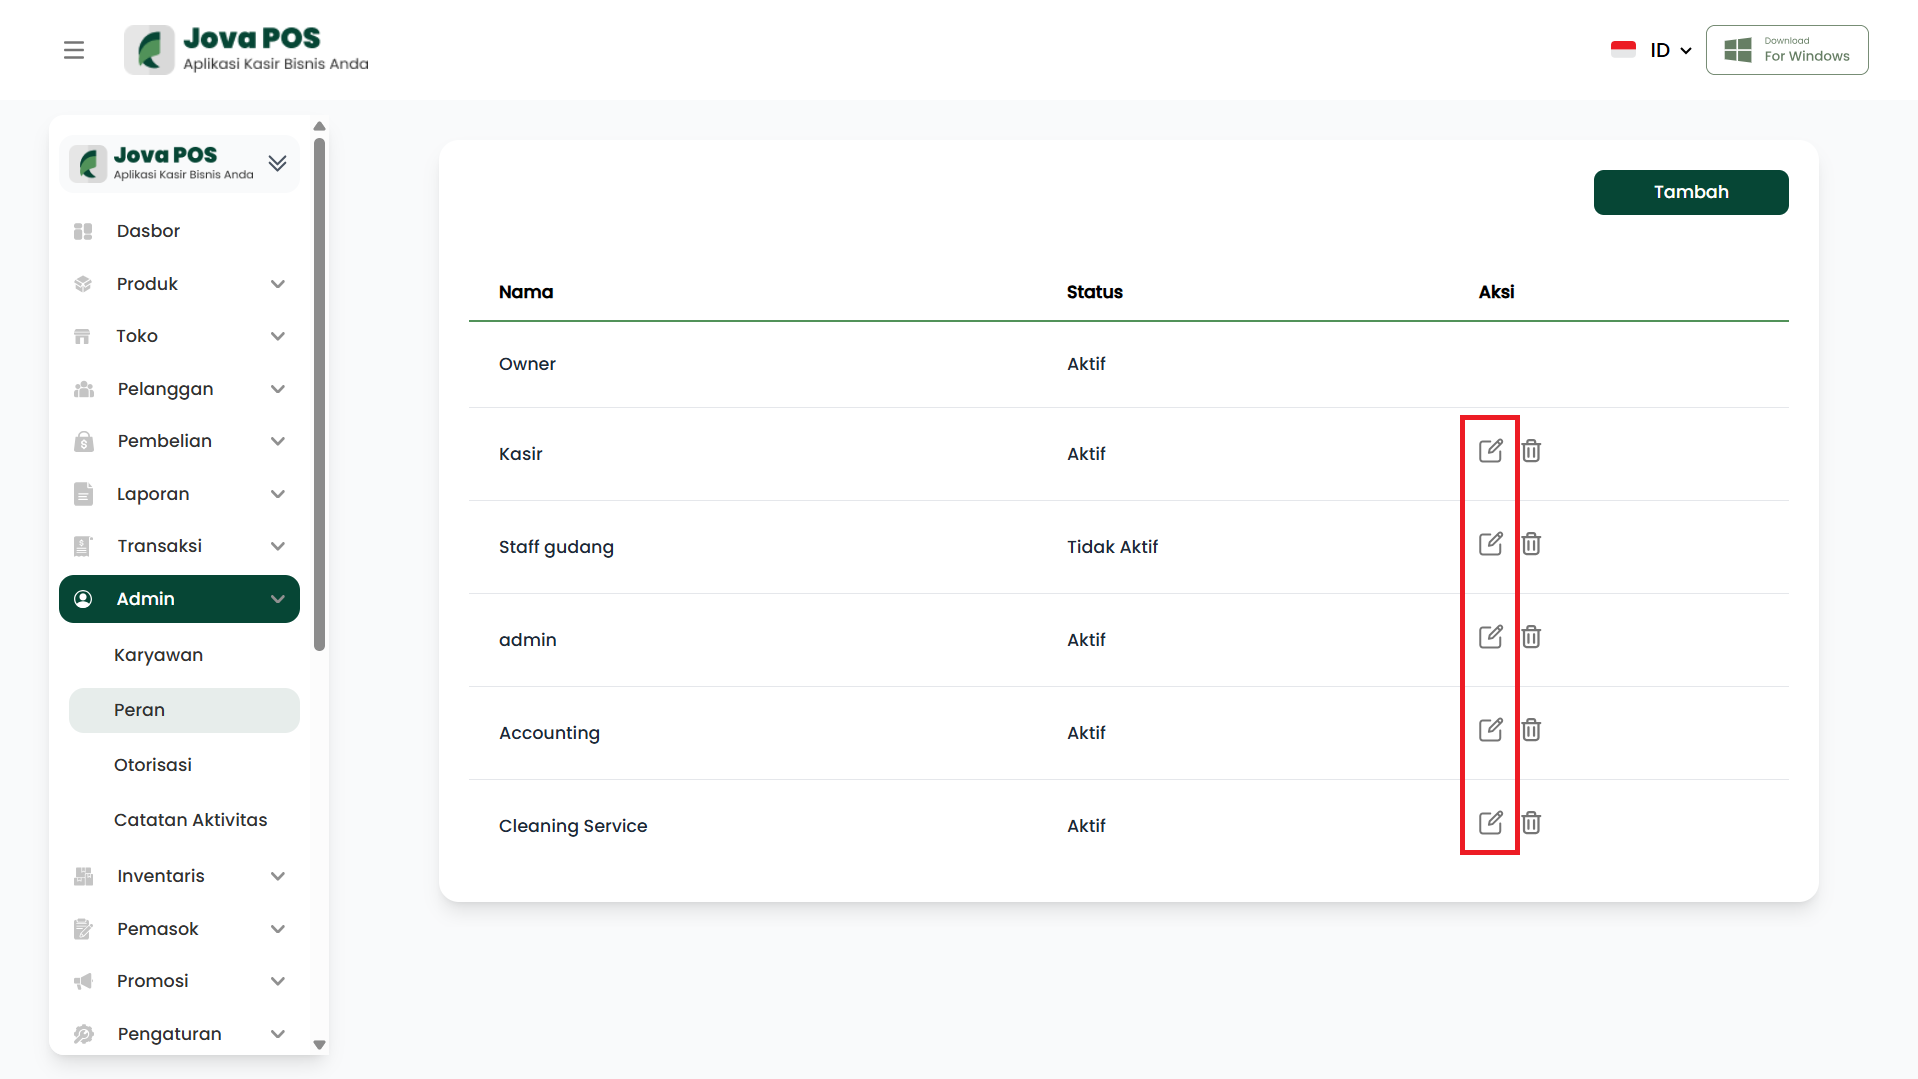
To edit an existing role's data:
- Click the Edit button in the Action column of the role list.
- Change the necessary information such as name and status.
- Click Save to save the changes.
5. Deleting a Role
If you need to delete a role, click the Delete button in the Action column of the role list. The system will ask for confirmation to ensure the deletion.
6. Role List
After roles are added, you can view the list of existing roles in a table containing the following information:
- Name
- Status (Active/Inactive)
- Action (Edit/Delete)
Conclusion
With the Role Management feature in Jova POS, you can easily manage role information in the system. The process of adding, editing, and deleting roles can be done quickly and efficiently.